BEXAR Goods shop visit :: Constructing a Land Carry
As you may recall, I recently did a shop visit with BEXAR Goods Co., down in San Antonio, TX. One more time, its pronounced “BARE”, named after Bexar County, the county in which they’re located. This is the second of two of posts on this shop visit, this one which is all about the handmade process(es) that they perform daily on their incredible carry products. Guy, Christian, and Falcon were 100% on board with the idea of having me photo-document the process of them constructing one of their products, step-by-step, and sharing that experience with Carryology. Since BEXAR’s leather satchels can take 16+ hours to cut and hand saddle stitch (no sewing machine at all), and we all only had a limited amount of time that Saturday afternoon during my shop visit with them, we agreed it would be best to do up a Land Carry, one of their most popular flagship products and primarily made of waxed cotton canvas. So lets explore this amazing process of transforming quality fabric, materials, and hardware into an end carry product, ready to go out and take abuse for many years to come.
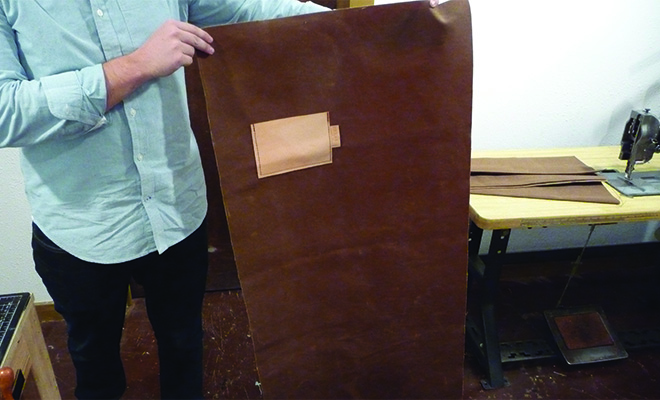
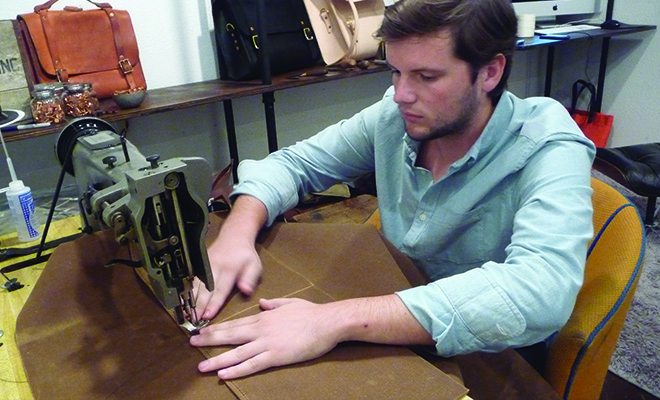
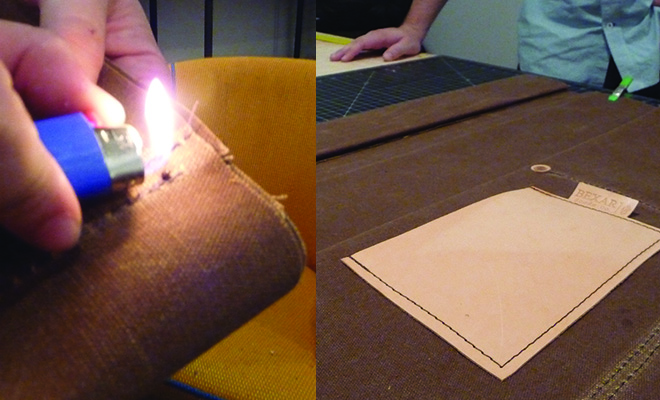
As you can imagine, it all starts with the fabric. And great products start with great fabric. BEXAR uses the finest quality Tradition Textile’s Martexin Original Wax cotton fabric, a super thick, heavy (22 ounce), waterproof, US-made fabric which performs and wears very much like leather. Really nice stuff. Pricey too. When I first walked into the shop, Falcon had just finished cutting the pattern for the Land Carry from a roll of “brush” colored Martexin. He had already drawn the pattern and done the cutting in order to save a bit of time. He quickly sewed on a leather pocket to this large panel. This pocket will later end up on the inside of the bag. For anyone not familiar with the process of sewing up a bag, you have to really plan ahead. Its like chess. Every move requires you know what you’ll be doing 4 moves in advance. Each step must be followed carefully and meticulously. Otherwise, you’ll end up with a garbage-looking/performing pack at the end, with the handles upside down. Falcon has done this many times before, and it shows.
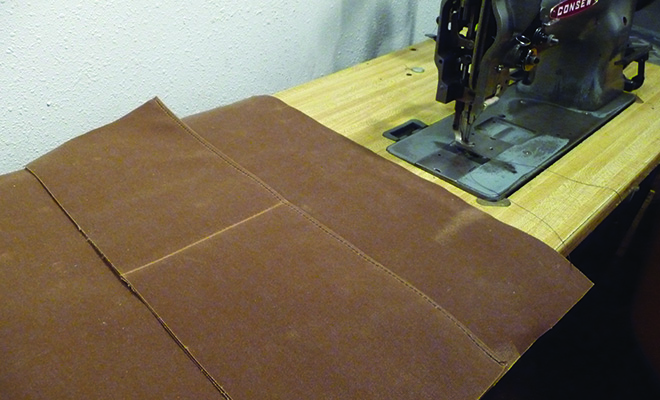
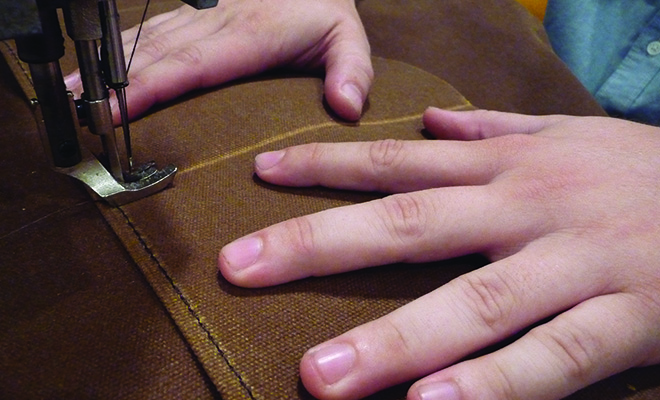
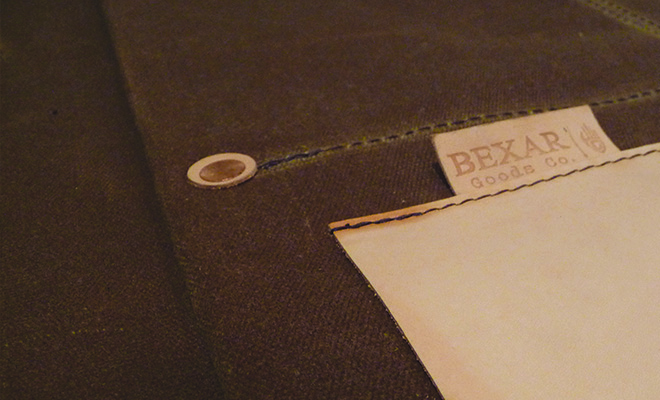
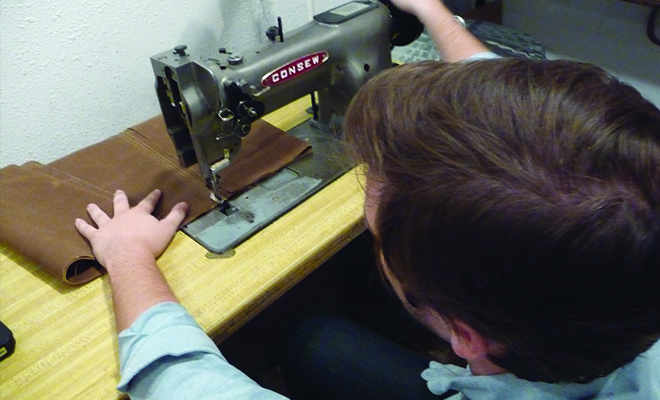
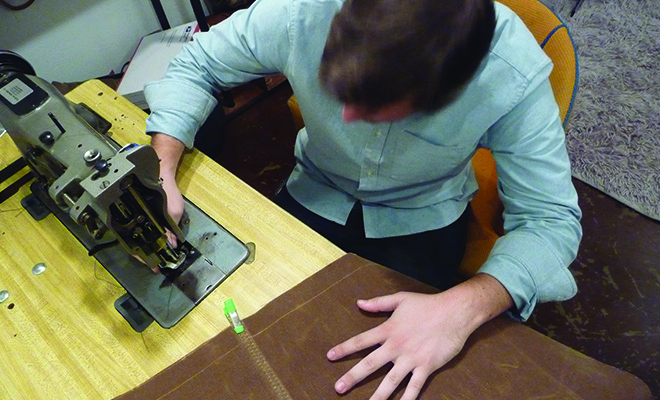
He slices up one more panel from the waxed cotton fabric on the massive cutting table, and we go back over to the 1950’s Consew industrial-grade single-needle sewing machine (single-needle machines and single-needle construction are considered the highest quality in the industry, FYI). If I didn’t keep asking what each panel was, or which part of the bag was being worked on, I would’ve easily lost track. With all these panels, all in the same color fabric, it can get confusing, at least visually for me, being a simple observer. This panel (above) will make up the dual exterior drop pockets, which is sewn to the front, and then riveted in the center for added strength.
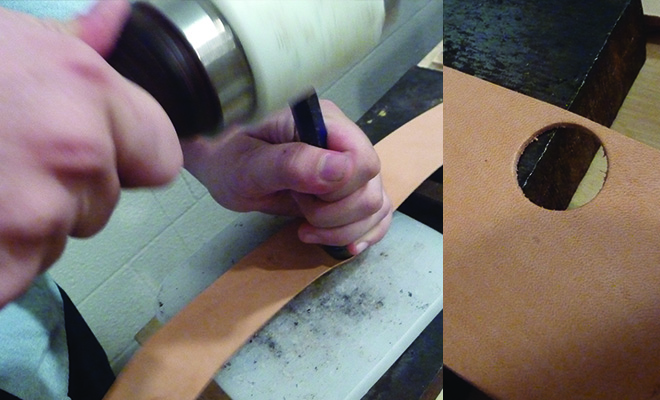
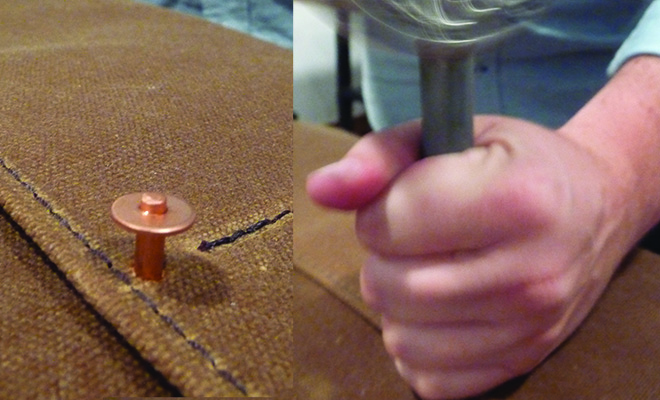
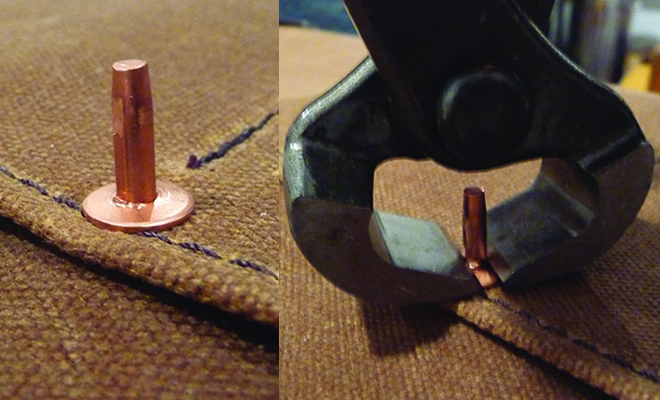
He hammers out a little circular leather spacer for the backside of the rivet to sit on. One swift tap with the mallet, and out comes the leather disc. A center hole gets punched out of that leather disc for the copper rivet’s post to pass through. Then he slides the copper disc down around the rivet’s post, sandwiching the leather disc, waxed cotton canvas, and the copper disc together securely. This adds serious strength to these exterior pockets. A stitch would work here. But a rivet really keeps things tight for hefty use abuse. This is why your favorite pair of denim has rivets located at the critical stress points.
A snip with the pliers and off comes the excess length of the copper post. They showed me a coffee can that is nearly full of these copper rivet scraps. There are some plans to somehow upcycle this minimal amount of waste. Plenty of cool options for future projects. No hammering of the rivets just yet. The reason being, like any small and efficient production line, if you can perform multiple identical steps (that require different tools that you’re using now), rather than switching back and forth, you can do these steps later in the process all at once, and you’ll save time. Rather than sewing, switching tools/processes, hammering, going back to sewing, etc, etc. If you were building a fence, you’d focus on building the fence first, rather than putting down your saw/hammer and painting each individual wooden post as you finish, then going back to next post. See what I’m getting at? Some of this switching is required, but the least amount you can do, the better. Plus, this rivet, even without the hammering, is snug enough to stay firmly put during the rest of the construction.
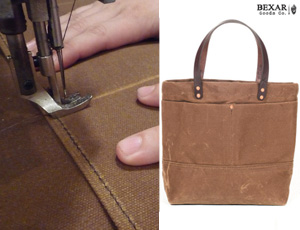
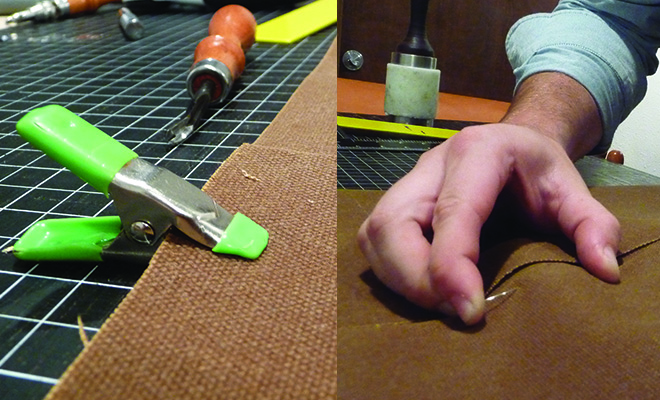
Some clamping and some pinning down to keep the tight lines required for the next set of stitch lines. Now the Land Carry is starting to come together. See that Bic lighter trick? Every good softgoods craftsman/craftswoman has a Bic in their kit. These are clutch. It is the best way to eliminate loose thread ends (which are a natural result of sewing). This way, the industrial grade nylon thread melts onto itself, securing itself from coming loose over time. Sort of like a one half of plastic rivet in a way. You’ll see some double stitching here along all the major seams and stress points. This isn’t achieved with a dual-needle machine, like some shops use. Each is a single pass, carefully and precisely creating two parallel lines by eye and a steady hand.
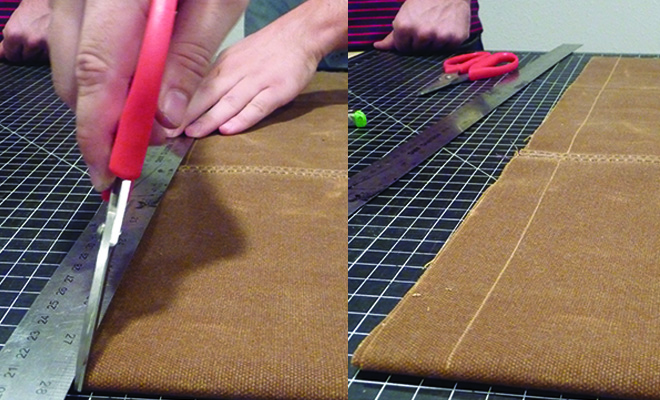
Now, this is trick. During most production bag construction, you’ll see the makers using a wax pen to make marks on the fabric. These pens work great because the wax easily comes right off, sending a flawless bag to the customer without marks all over it. However, this waxed cotton canvas is magic. Making a light surface scratch with the backside of a pair of scissors, it saves making any wax marks on the fabric, without the need of a wax pen. Following a straight edge, Falcon lets the scissors gently glide over the surface of the Martexin waxed cotton canvas fabric. This doesn’t damage it whatsoever, it would take a whole lot more to even begin to hurt this stuff. Plus, you can rub the mark away if you like, as the wax will melt smooth with the heat from your fingertips. Or not. This line will go away within a day or two of owning it, maybe even gone before you receive it. I personally like these leftover process details, showing traces of the handmade process after the product has left the factory/maker. I’m always searching for little white wax pen marks on bags that I purchase. Search for these wax marks next pack you purchase. They’re really obvious on black nylon bags. Love it.
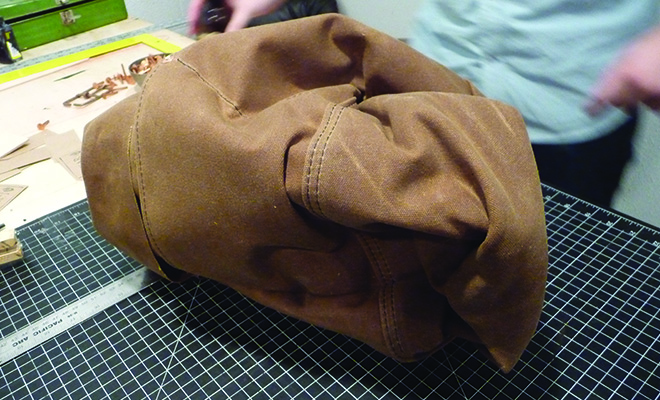
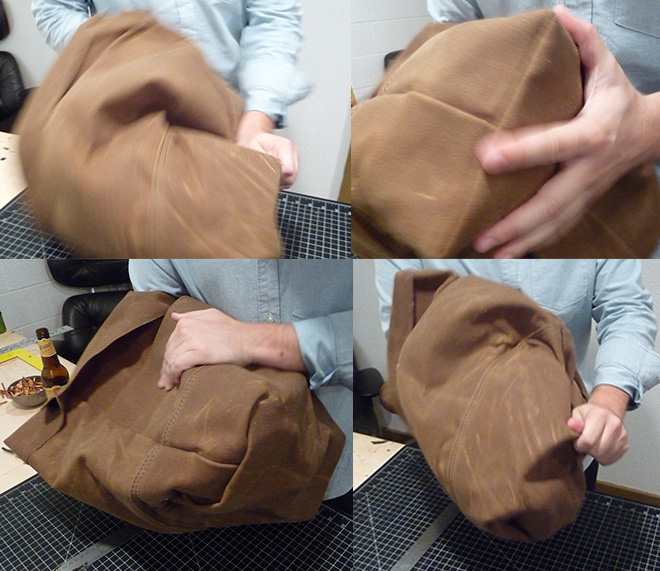
One more main stitch into the body of the Carry. Now we’re getting there. We’re at least 2 hours into this process at this point. Falcon admits he’s rushing a bit, as I’ve got to leave in just a short while from this point. I step outside to take a 5 minute business phone call. When I come back inside, I see this wad of fabric below. Falcon purposely waited for me to photograph this. This is what most bags look like right before they’re done. An inside-out blob with no real shape.
It takes some muscle, some patience, and some persistent convincing to the fabric, but there is a bag waiting to be “turned out” (industry term) in there somewhere.
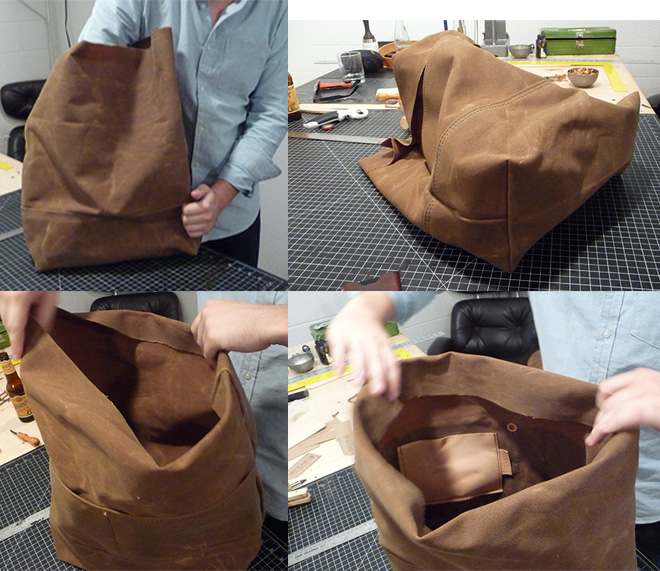
After battling the waxed cotton warrior, it is finally showing its true form. This Martexin fabric is amazing stuff. Its so thick, the bag will stand straight up on its own. Falcon rolls over the top edges, readying them for the two leather carry handles to be attached. A quick stitch to keep these edges tidy. Now we’re ready for straps.
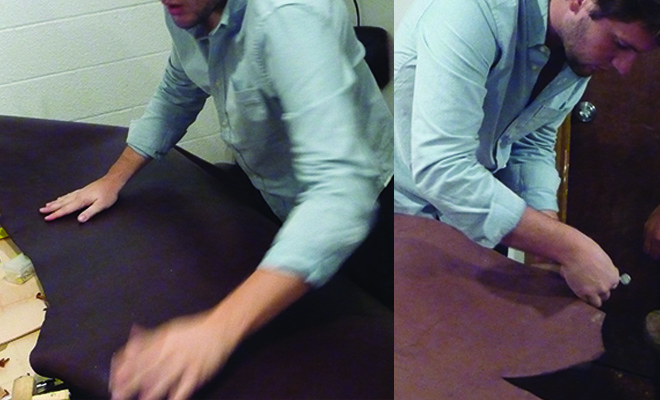
Down off the shelf comes a giant hide of amazing 12 ounce English bridle vegetable-tanned US-sourced leather (the best stuff there is, period). This particular hide is pricey, a couple hundred bucks, easy. Worth every penny.
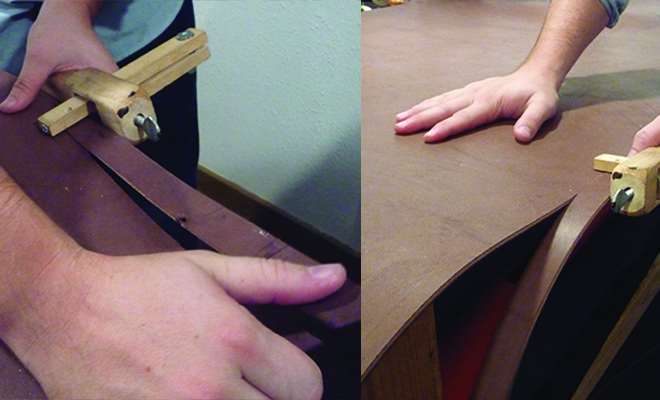
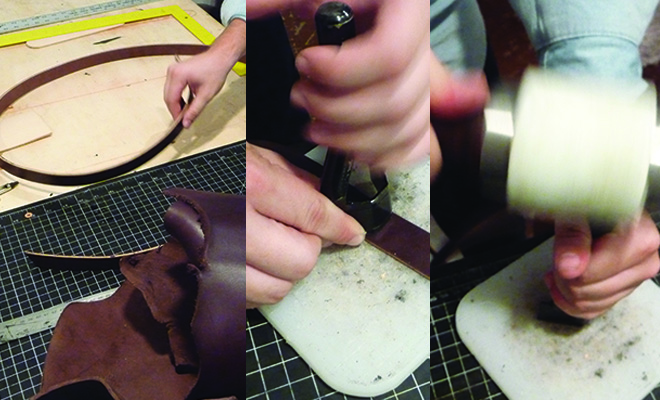
Using a wooden strap cutter, he slices off two long hefty straps from the thick cow hide.
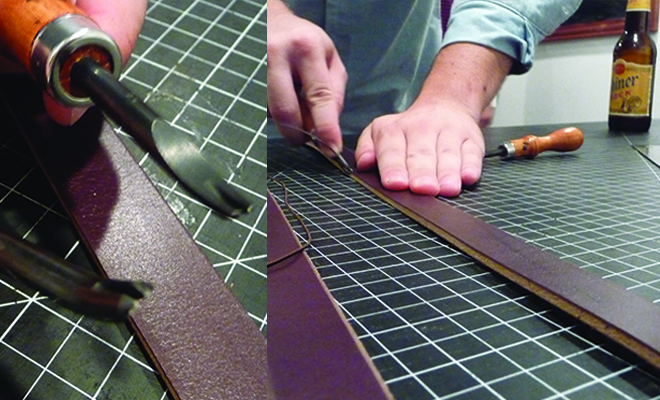
Next up, the straps are measured to correct length. Then, using a strap end punch tool (shaped with a geometric blade for aesthetic purposes) and a poly mallet, the straps ends are cut. Using two different edge beveler tools (one for increased comfort on the side of the leather strap the touches the inside your hand / the other for finishing and aesthetics… serious detail), Falcon carves off the sharp edges of the leather straps into fine leather discard ribbons.
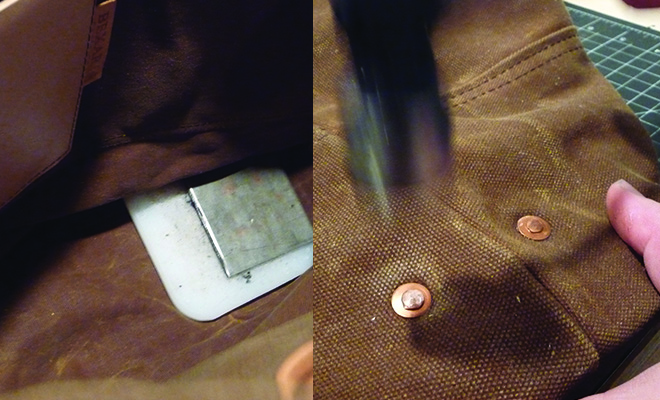
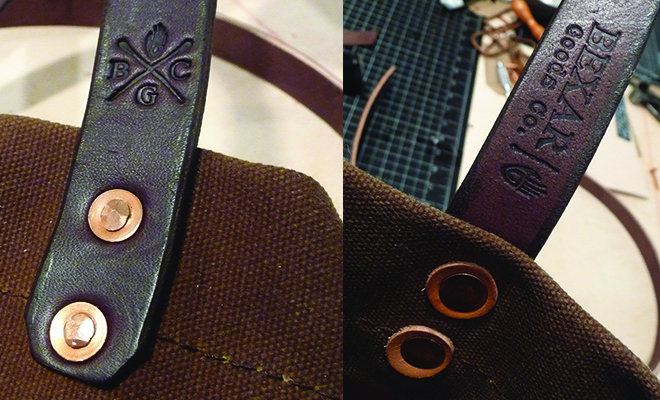
The part you’ve all been waiting for. Hammering down those copper rivets. The cut ends of the copper posts are sharp and waiting to be smashed down. There are quite a few of these rivets used in the construction of this bag, making it extremely durable and strong. To be specific, there are a total of 13 industrial grade rivets. A metal plate is slid under the flat side of the rivet, so this back side will lay flush against the completely level metal plate, acting as support. And hammering begins. Several swings with a hammer for each rivet. Between 10 and 25, I’d estimate. Something to be noted… this process is loud. Real loud. Especially in a room with no real sound dampening properties. A metal hammer, hitting a copper rivet nice and hard, and the copper rivet laying on a metal plate. Metal on metal… on metal. Its loud, but I dig it. The copper sings. Easily my favorite part of the process. Probably because it is one of the very last processes, too.
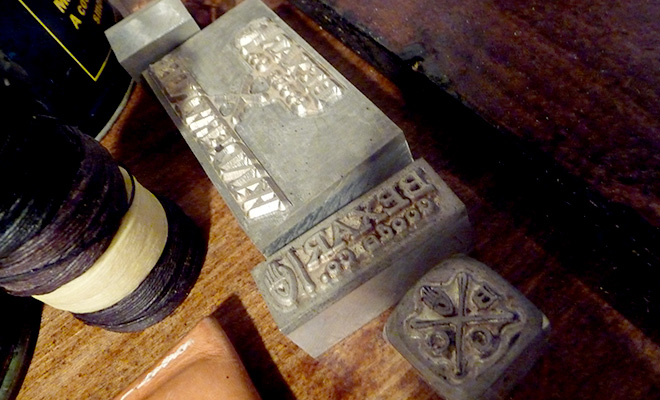
A final set of taps with a poly mallet on the handle ends of their two custom BEXAR leather stamps, make deep embosses of their logo into the leather straps. A handsome minimal detail which finishes the handmade processes required to make this Land Carry. Not as easy as it seems, eh? Total time for this process, just over 3 hours of serious skill and labor.
I highly recommend you go check out BEXAR’s products, including their leather satchels, their bags and backpacks, and some other unique products they have (such as the Boeing weekender and their newly launched vegetable-tanned-leather-bottom Outlander tote). They carry all sorts of clever stuff. I’ve got one of their Whiskey Corral leather belts, made from the English bridle vegetable-tanned leather, with their unique “sweet spot” option, and I love it.
…And speaking of their products, Falcon dropped me a line to give you Carryology readers a secret heads up on an upcoming Black Friday Sale they’re going to be announcing here shortly. The sale runs from November 20th – 26th, and BEXAR will be doing “UP TO 35% OFF” products on their site. No better time to hit them up for a great discount. No risk of getting trampled, either.
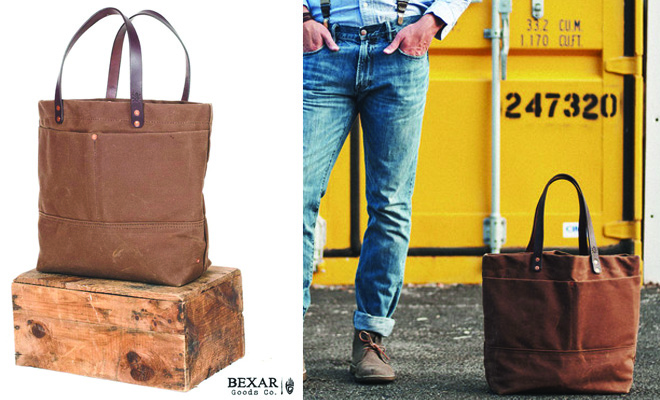
This concludes the shop visit portion of the posts on BEXAR Goods. I’ll be Road Testing this Land Carry over the next several weeks, then I’ll get back to you all with a detailed report on this new-to-me product and method of carry. This is the first dual-strap “open” bag that has entered my Carry Quiver, as I usually opt for a backpack or shoulder bag when I’m on the go, so I’m curious to see how a this form factor will fare in my day to day adventures. One thing is certain, it feels seriously durable, using quality amazing materials, and its really well made, by hand.


 Carry Awards
 Insights
 Liking
 Projects
 Interviews
