Road Tests :: Incase DSLR Pro Pack
A photographer by trade, David Green is also handy at filming and animating, having put together Bellroy’s stop-motion videos. His love of photography is only rivalled by his love for bikes, basketball and eating challenges. He was kind enough to put together the road test below. Happy reading…
It was a week before I was due to fly out, I was heading over to Southeast Asia for six weeks of adventure, when my Incase DSLR Pro Pack was delivered. Having looked around at a bunch of packs this one seemed to fit the bill as a good sized camera backpack with enough features to satisfy. First impressions were good, but a review can’t be written off first impressions. My intention was to give the pack hell over the following six weeks of travel, return home with plenty of pics, and write up my findings for this review. Well it took me one day before I had crashed a bike, stuffed my foot, and was planning my return trip home! So this review didn’t quite happen the way I had hoped, but since being back home in Aus I have had a good chance to put the bag through its paces, and these are my findings…
THE PACK
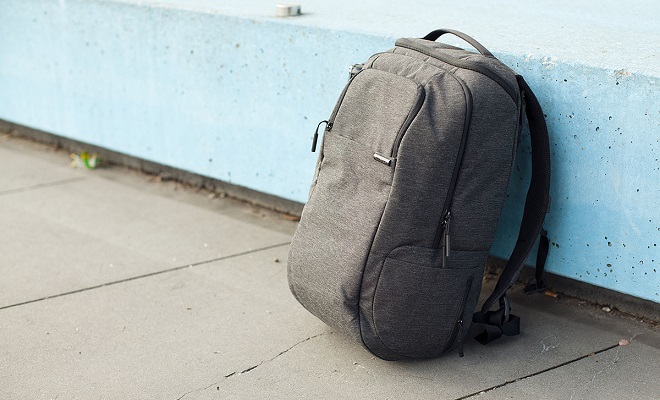
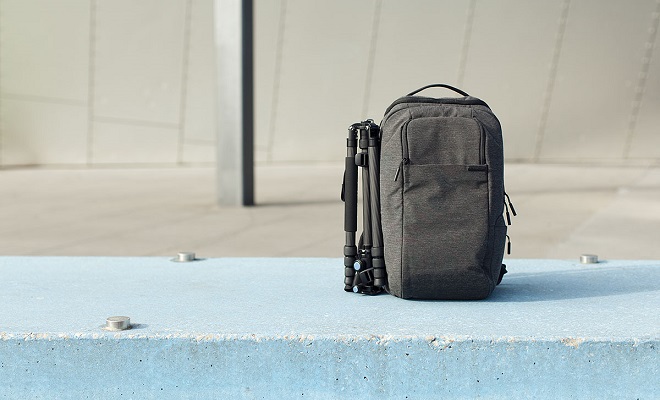
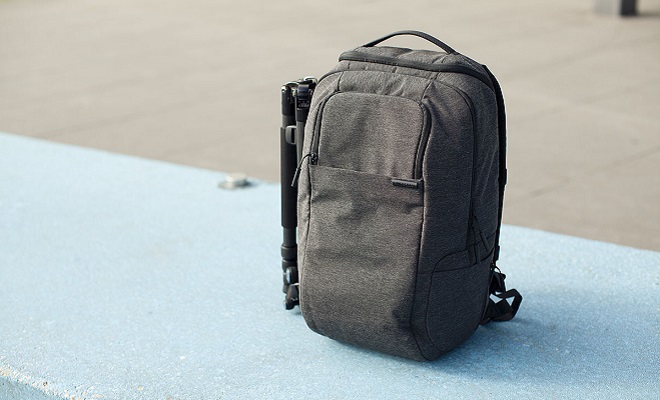
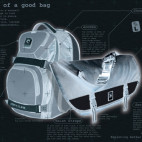
The pack comes in two different colorways – Black Heather and Dune Metric Camo. I’m running the Black Heather for this review. Picking up the pack the fabric seems to be a good durable fabric; time will tell. The heather pattern (interwoven yarns of mixed colors producing flecks of alternate color) should also mean it ages well and hides those little nicks, scratches and general wear. The pack is designed around two main sections. There is the main camera compartment which sits against the wearer’s body, and which takes up most of the pack. And there is the front compartment that takes care of the laptop, tablet, documents or any other items.
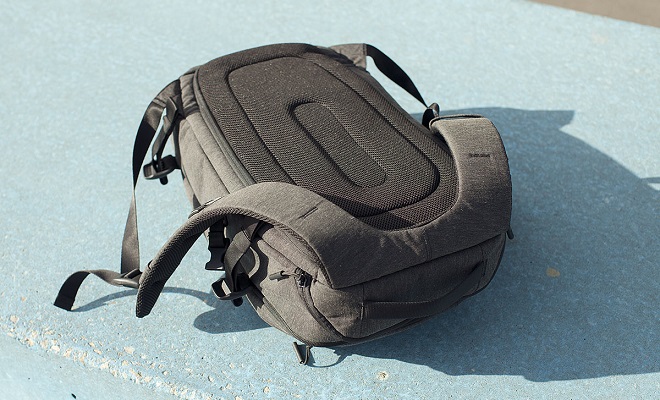
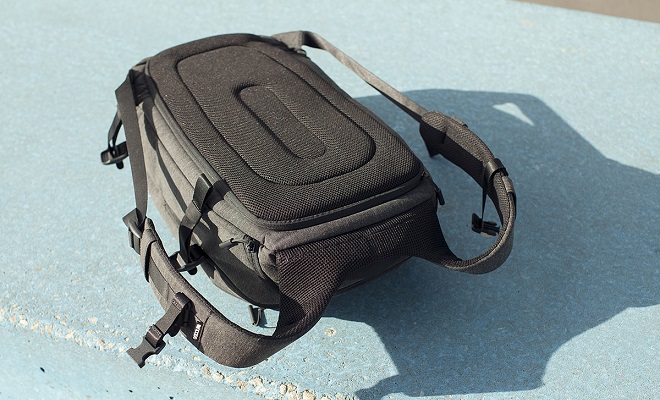
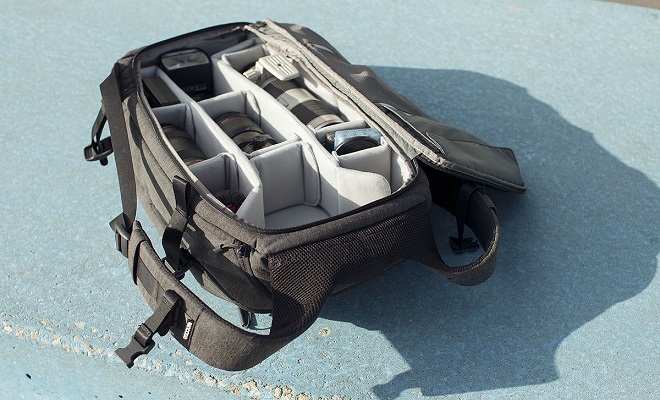
The main camera compartment is accessed via the back of the pack. To gain access to this firstly the two shoulder straps need to be folded back and then the back panel can be unzipped. This was new to me, having only used camera backpacks with front access before. I thought it may take some adapting to, but within a day I’d forgotten about the change and it was a great system. It’s also good knowing that your expensive gear has an extra layer of padding (the front section) between it and any potential knocks.
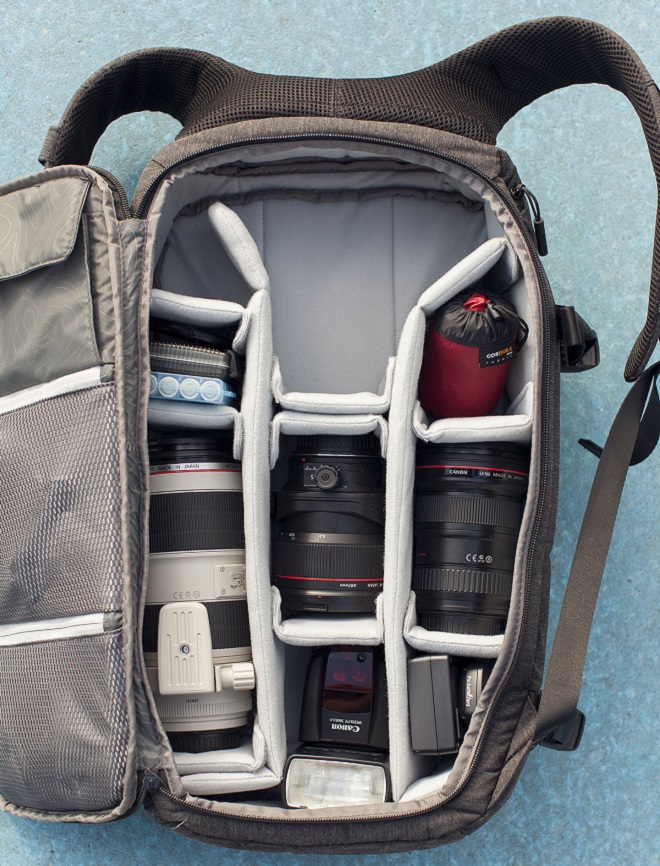
The internals have a set of Velcro-attached padded dividers much like you’ll find in most camera bags these days. It’s easy to customize to whatever gear you’d be running. Most of the time I run a 5D with lens attached and two other lenses, and have room to spare, so use that space for flashes, lens hoods, etc.
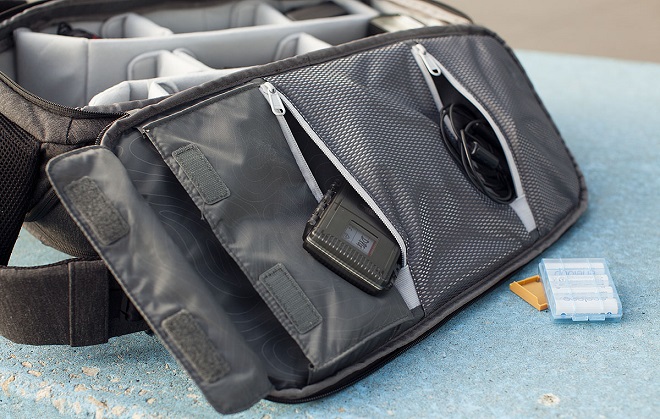
On the inside of the back (access) panel are three pockets for extra storage. Two of which zip closed and one that uses Velcro tabs. A clever touch with the zips is that when the pockets are fully closed the metal zip tags tuck away into an elastic covering. Really good attention to detail and smart because it prevents the metal tags from potentially scratching your camera gear inside.
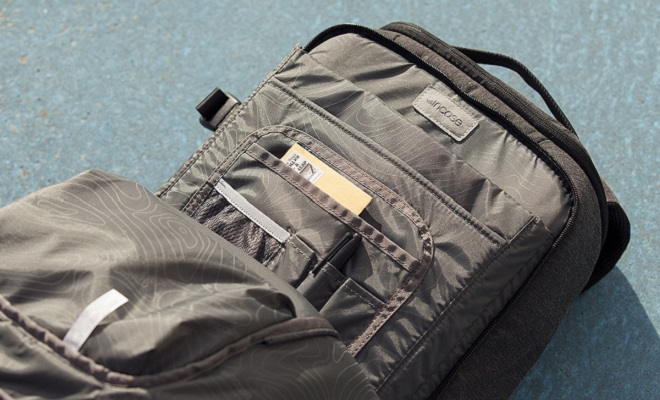
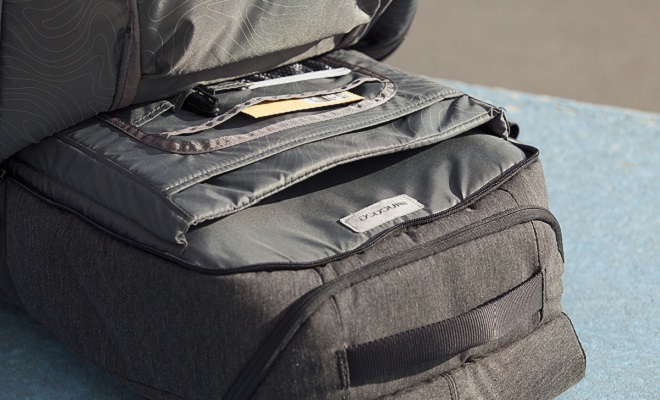
Now to the front. This compartment is accessed from the front of the pack and caters for everything else really. The compartment is the full length of the bag and is deceptively large. During my brief travels I used it for all my documentation, a passport, book, packed lunch, and a jumper. There was always room to spare. Some of the items I don’t have but which it’s designed for is a laptop – there’s a pocket for up to a 15-inch laptop. There’s a slip pocket for an iPad, and then there’s a few other pockets that look after pens, smaller items, etc. It’s a good flexible space. If you don’t have the laptop and iPad in there like me, those pockets squash down and give you more room for whatever else you want to pack.
THE FIT
It wears well. It’s fairly basic when it comes to adjustments, but to me that was part of the appeal. Sometimes simple is best, especially aesthetically. I guess it depends on the situation, but if I want to take my camera plus a couple of lenses out for the day I don’t want to look like a photojournalist. I just want to look like I’m wearing a nice backpack, that happens to carry my camera gear. Having said that there were a few times when I fully loaded the pack, and after a while the shoulders were feeling it. Bear in mind that it’s carrying a camera body and 5 pro-grade lenses which aren’t known for skimping on glass. So you can imagine it weighed a fair bit. I’m sure some hip straps would have eased the load, but given I was fully loading the pack say 20% of the time I’d prefer not to have them flapping in the wind.
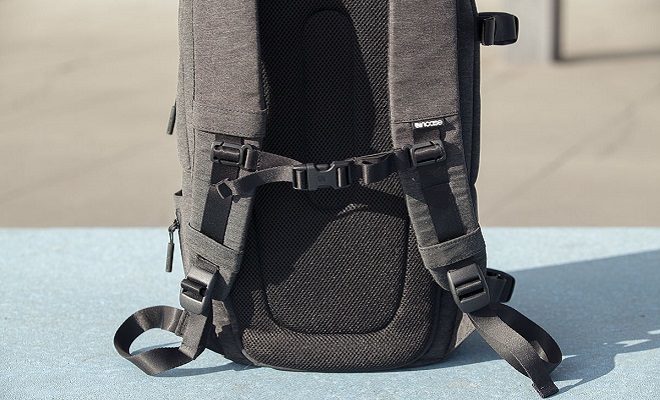
So what can be adjusted? There is the length of the shoulder straps, and there is also an adjustable sternum strap. This can be tightened and also adjusted up and down. The shoulder straps are padded along with the back panel. So it’s a comfy fit and I never felt anything poking into me from within the pack. On the whole it’s a fairly soft pack, and by that I mean it doesn’t have the rigid shell protecting the camera gear like a lot of other camera bags out there. There is a bit of a trade off with protection there, but it gives the pack a comfortable casual feel.
OTHER FEATURES
Top Access Pocket
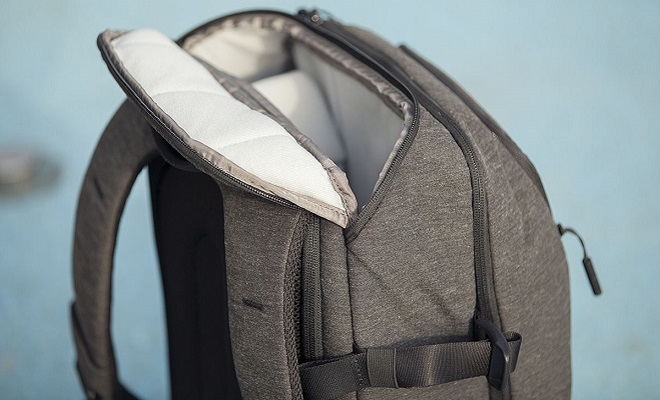
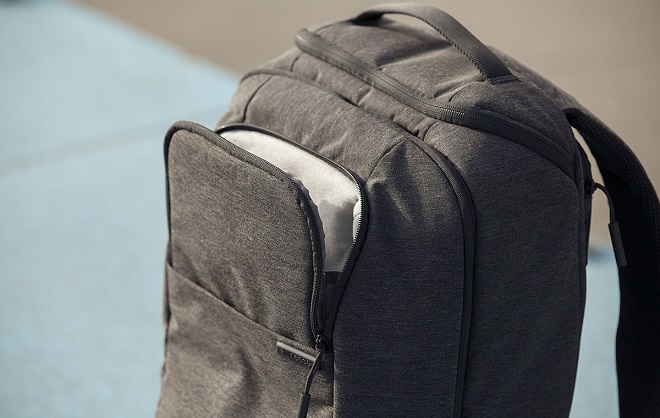
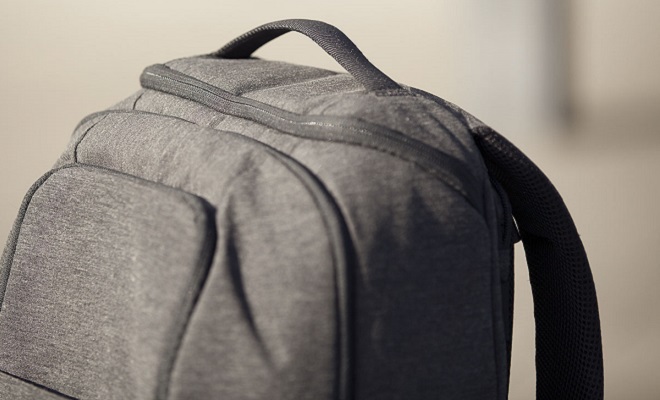
The stand out feature of this pack for me and the one I was always making the most of was the top access pocket. It’s not a new concept, but it’s new to me and it made this pack so much better. It’s a way of getting your camera out of the main compartment without having to open up the main back panel. It’s just a matter of opening up the zip at the top of the pack and pulling out the camera. It cuts down the time to have your camera in hand and ready to go. I found myself pulling out the camera more, whereas in the past I may not have bothered to get the pack off and open up the main compartment. So a camera backpack that promotes more photos, that’s got to be a good thing!
Tripod Straps
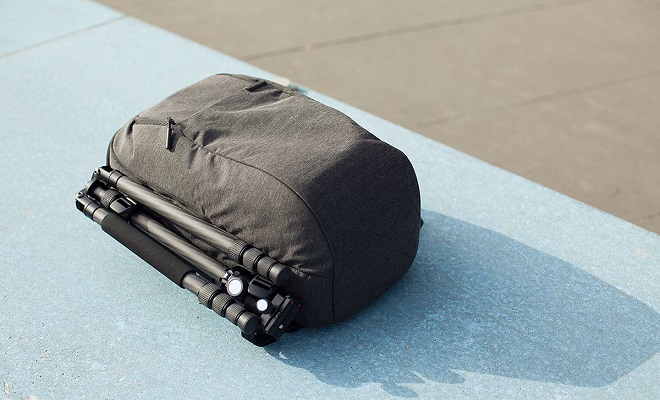
The pack features two tripod straps on its side. I have a small travel tripod and it looks after it well. The straps don’t quite open wide enough to strap the whole tripod in, so I ended up just feeding in the centre column and one leg then folding the other two legs down. Maybe the straps could have been a little bigger, but the system of one leg plus centre column worked well and was easy to secure. Never did I find myself retightening the straps either, the buckles always hold tight and are straightforward to release.
Extra Pockets
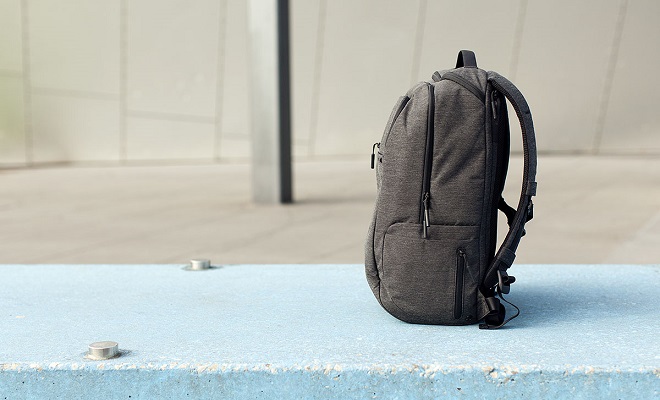
The pack also has a few extra pockets. Some I found myself using all the time, some I didn’t use at all. It has a very handy zippered pocket right on the front of the pack . It’s small and has a soft lining so is perfect for a phone or to throw your keys into. For a little pocket it’s quite deep too – it expands back into the front compartment as it gets loaded up – very handy.
Below that is an open sleeve-style pocket. It’s quite large, as it reaches down the length of the pack. Good for flat things I guess, but with no zip I found myself using the safety of the main front section. One thing though, it is the quickest pocket on the bag to access.
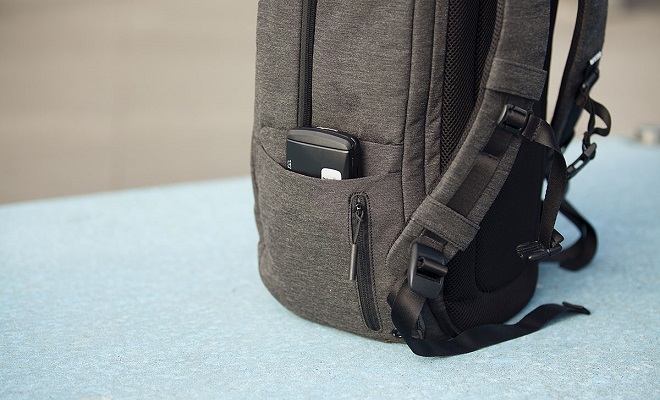
On the side of the pack at the base (opposite side to the tripod straps) are two more small pockets. One open and one zip accessed. I didn’t find myself using them, but hey they don’t take up any room so why not. Not much space in them so good for a muesli bar or spare key.
Zips
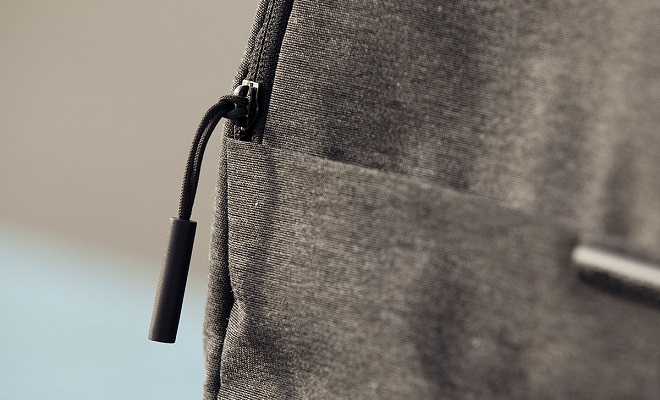
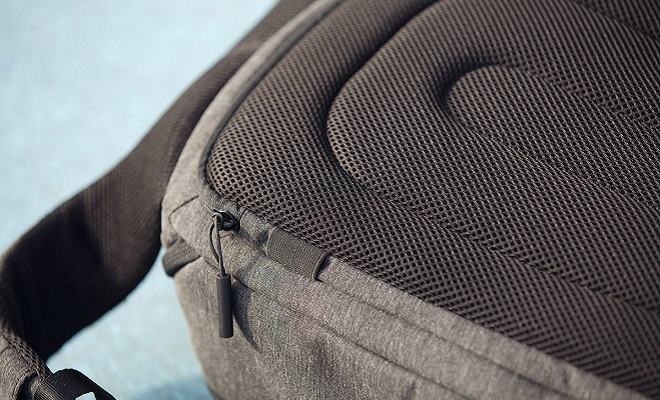
All zips on the pack work well. There was no wearing-in period for me, smooth and easy from the get-go. The pull tabs on the external zips are user friendly. They almost seem to poke out from the pack, making it easier to grab them.
Mesh Back Panel
The first day I landed in Thailand it was close to 40 degrees Celsius, and my body was trying desperately to acclimatize from an Australian winter. So I’m not sure if that’s fair review conditions for how breathable a pack is. Evidently it didn’t do too badly but it didn’t do great. Since being back home I haven’t noticed any sweat patches, so that’s all I can ask for. It’s breathable, dries quick and it’s comfy.
ISSUES
For me this pack rates highly, so when I’m finding faults I have to look hard.
One is I find this pack is quite a soft backpack. There’s no underlying rigid structure and there’s no extra dense padding around the camera gear. This on one hand makes it comfortable, but on the other concerns me because of the precious cargo within. Look, it’s a camera backpack so you shouldn’t be throwing it down, but if you were to drop it I’m not sure how well it would protect the gear inside. Some other camera backpacks have denser protection around the camera gear, almost like a capsule. Is this a better solution? It’s probably a trade off with size and weight, but I felt there could have been a little better protection, especially on the bottom of the pack.
We’ve determined this isn’t the type of pack with hip straps, reflective strips, and all the bells and whistles. Its beauty is its simplicity. Having said that, I would have loved a rain cover. It’s a minor criticism as it’s not designed as an outdoor or hiking pack. But even if it was detachable, there are enough extra pockets to hide it in.
IN SUMMARY
The first thing you notice about this pack is it’s just a well designed backpack. Clean lines and all parts of the bag are an effective use of space. It doesn’t grab you with a gimmick, it just does what it’s meant to do and I found it does it very well (whilst looking good).
It’s not going to be a backpack for every photographic situation, but I think it does a great job of covering a lot of bases. If you need to carry a lot of gear for a long time, if you’re going to be roughing it in the elements, there are better options. But I found for anything from a professional photo job, to travelling, or just going for a walk and wanting to have your camera gear on you the Incase DSLR Pro Pack is just about perfect.
Keen? If you’re in Australia, best bet is purchase it from one of our favourite Carry Retailers – Rushfaster. If you’re anywhere else in the world, have a look at the Incase store.


 Carry Awards
 Insights
 Liking
 Projects
 Interviews
